On the occasion of autumn cleaning, it is worth a comprehensive approach to the topic of cleaning the apartment, especially the kitchen. One of the most hated activities is washing the refrigerator. We suggest how to carry out this process quickly and effectively. Learn about methods that will make cleaning the fridge easy and enjoyable
Refrigerators are very important appliances in our house. It’s where we store food, medicine and other items that need to be kept at a low temperature. The best way to keep your fridge clean and odour free is to clean it regularly. It is also a matter of our health, because the interior of the fridge is a great environment for the growth of bacteria and fungi. We suggest how to clean the fridge and what detergents should be used to make its shelves sparkle with cleanliness
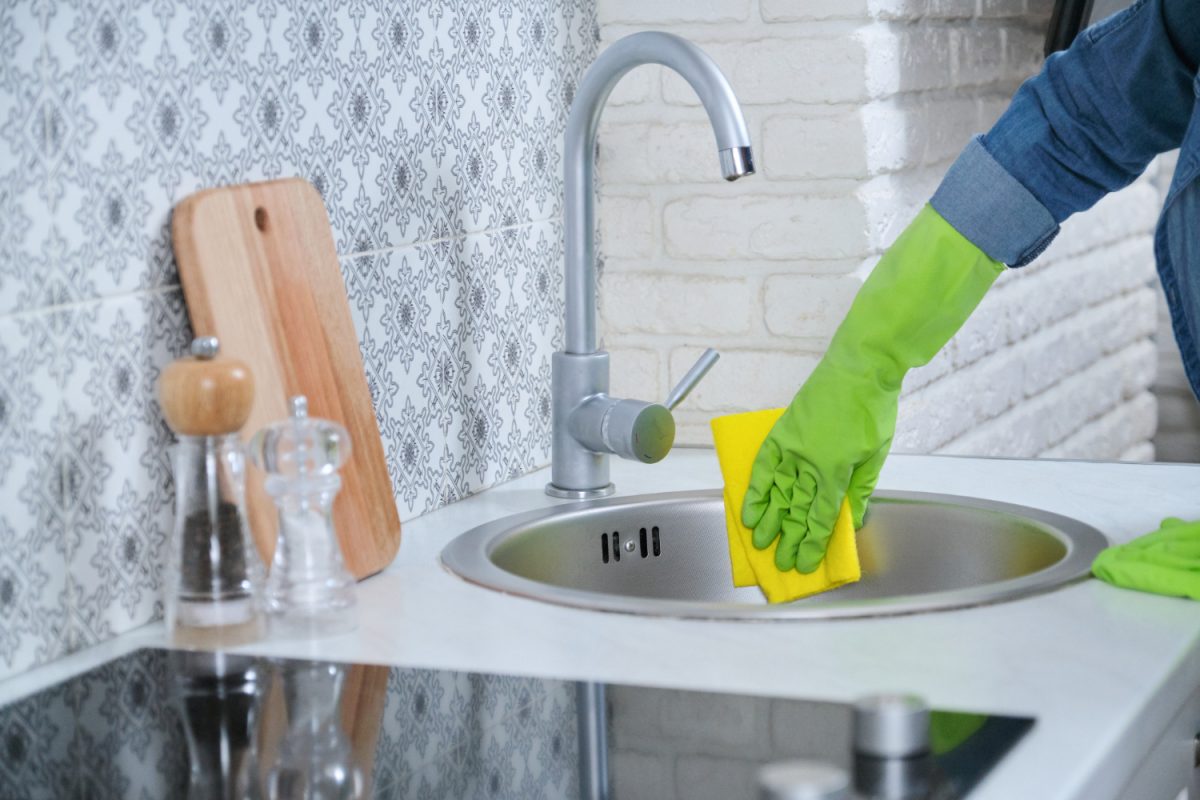
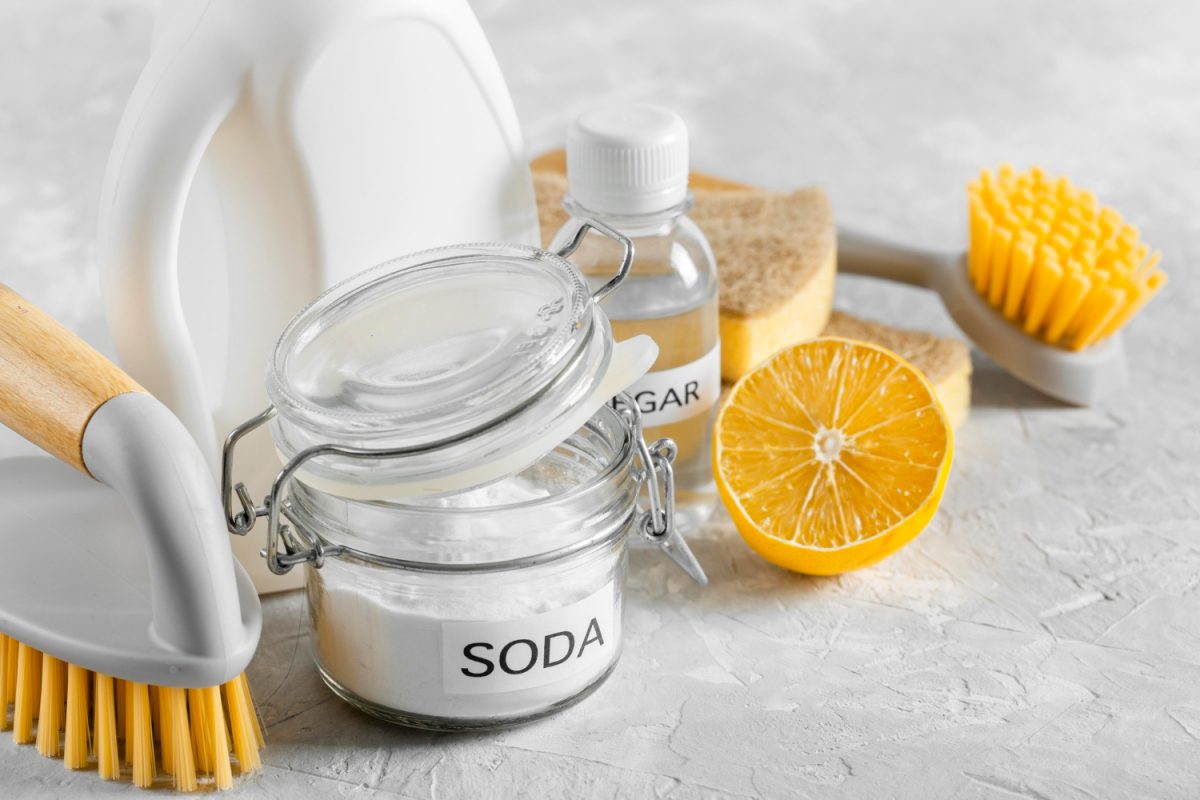
The first step in cleaning the fridge is to prepare the appropriate preparations and cloths or towels. The surface of the refrigerator should be cleaned with a cloth made of soft material, so that we can be sure that even strong scrubbing will not lead to damage. You can use ready-made chemicals for cleaning refrigerators or prepare homemade cleaning products
The best liquid for cleaning shelves and refrigerator compartments will be the one made of vinegar combined with water. Vinegar acts as a disinfectant, kills odor and is great at fighting mold. If large and difficult to remove stains are present in the refrigerator, it is worth adding baking soda to this mixture as well
Washing the refrigerator is not one of the most pleasant activities, so you should do it quickly and effectively. It is best and safest to disconnect the equipment from the electricity for the time of cleaning. This way we can be sure that the refrigerator is safe and will not be damaged during cleaning
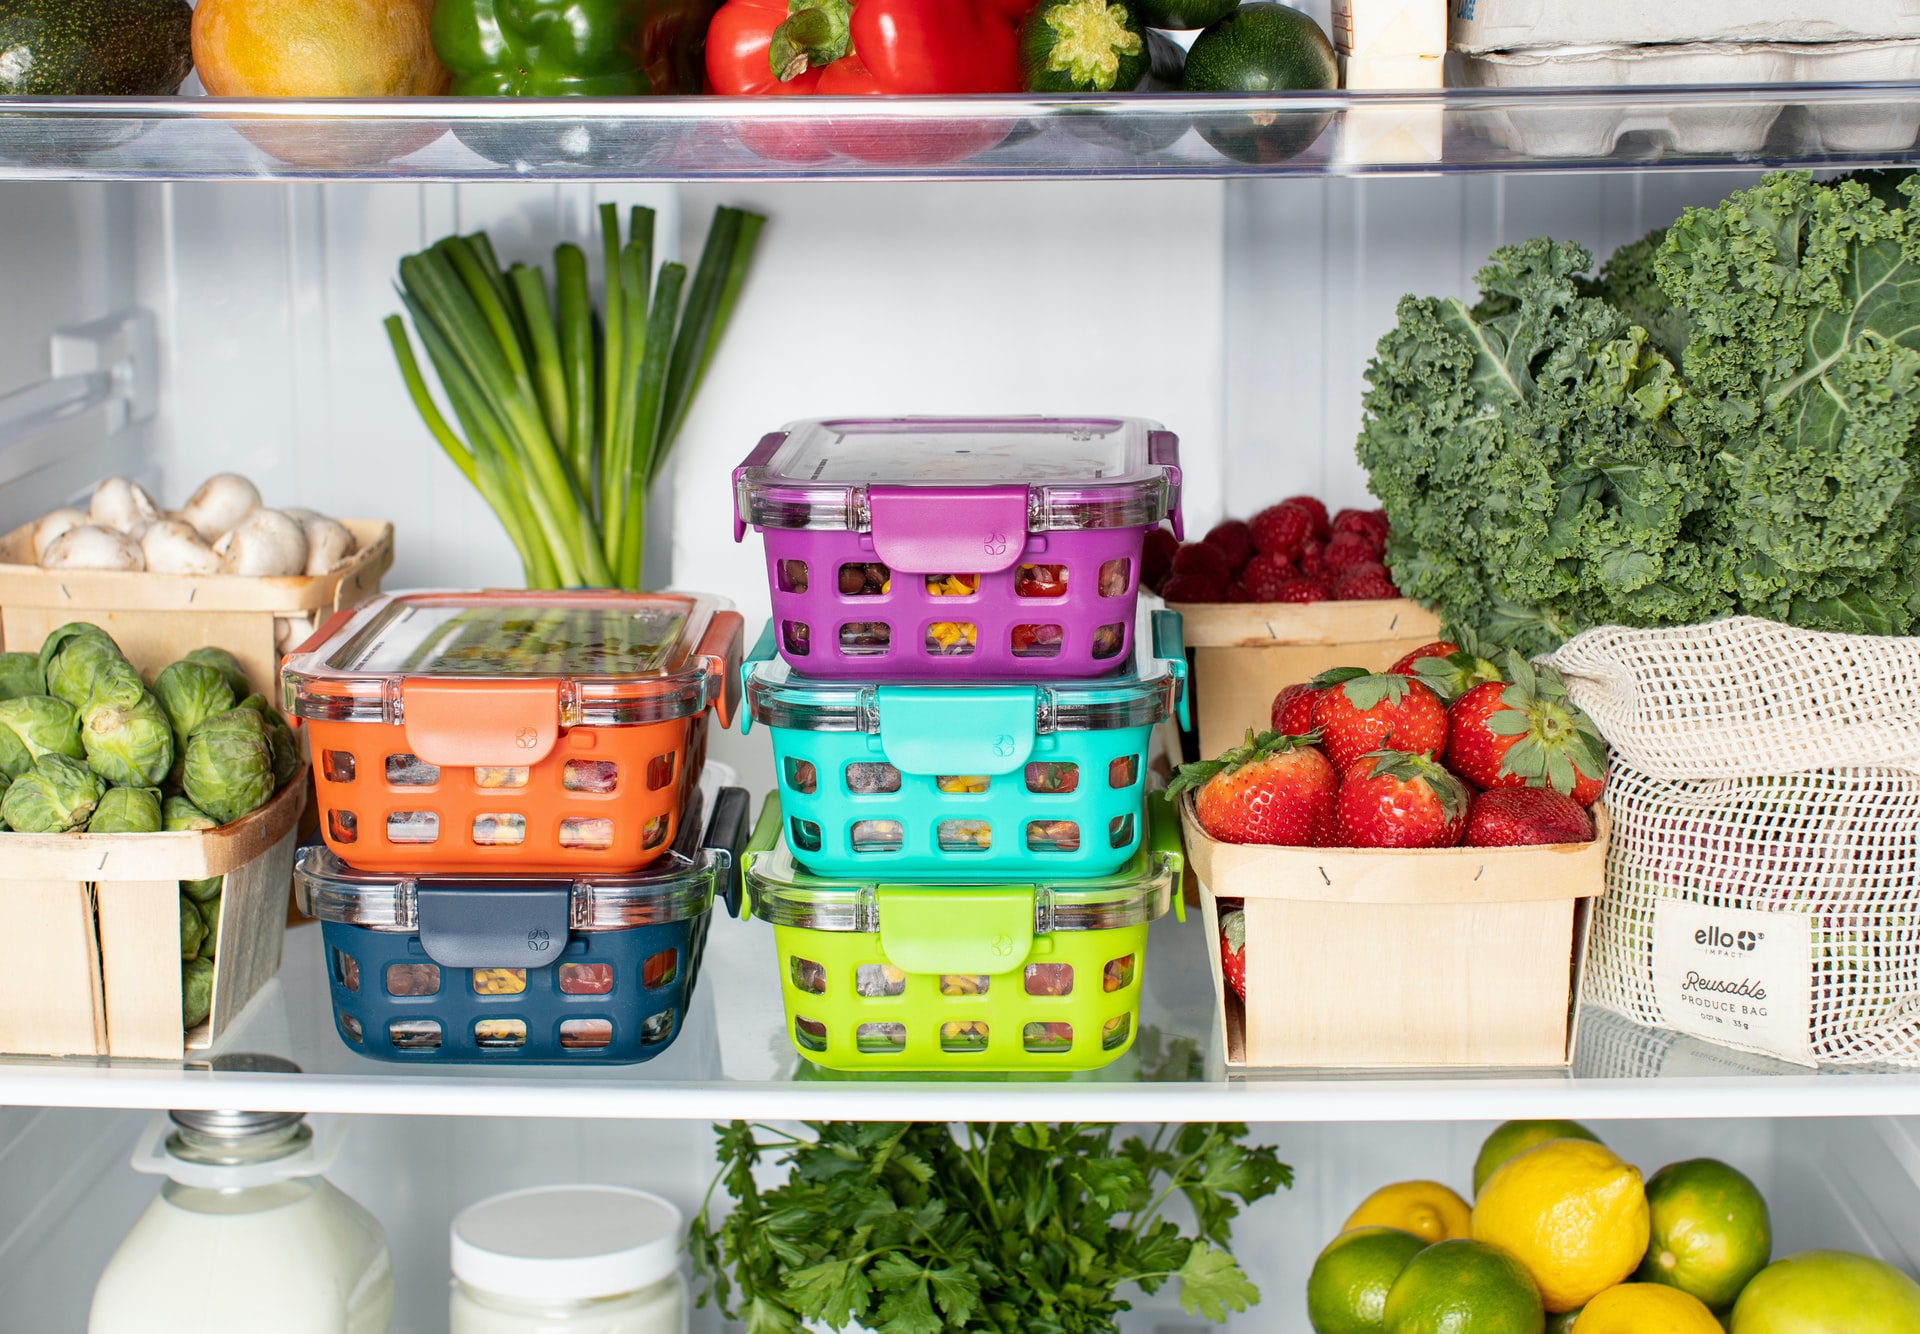
The first step is to remove all the products that are in the refrigerator. Emptying the fridge allows you to carry out the cleaning process faster and more efficiently. This is a great opportunity to review your inventory. Throw away expired food or products that are no longer fit for consumption. Use a damp cloth to wipe down any jars or wrappers that you take out of the fridge. Finally, get rid of shelves and drawers
Not everyone has a modern fridge with a No Frost system, which lets you forget about the annoying process of defrosting your kitchen appliances. If you have an older model of fridge, you first need to wait until all the ice and frost has thawed before cleaning
If you have an older model fridge, you should first wait until all the ice and frost has thawed before cleaning the fridge. Then we also wash the shelves and drawers that we took out earlier. We can leave the whole thing to dry or continuously wipe it with dry cloths. When cleaning the refrigerator, pay particular attention to its nooks and crannies and the seal. These are often overlooked places, and that’s where most bacteria accumulate
Finally, once you’ve put all its components in the fridge and plugged it in, it’s a good idea to place a small container of baking soda inside.
Main photo: Ello/unsplash.com